How to apply tips for Tattoos, Age spots, bruises, birthmarks, port wine stains, scars & vitiligo
- Use on clean, moisturized skin.
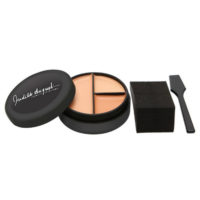
- Remove small amount of product with spatula or fingers.
- Start with a shade closest to your skin tone. If necessary, stipple several shades together until you achieve your perfect match.
- Dab and pat the makeup instead of stroking it onto your skin.
- For dark discolorations, use a color darker than your skin tone, then layer with the shade closest to your skin tone.
- Blend into the surrounding area until there is no line of demarcation.
- Set with August Minerals Finishing Powder: Translucent using a powder brush. Let powder set for two minutes and buff off excess.
Hints for Scars
- If the scar is red in color, use more yellow in your foundation mix.
- If the scar is white in color, use more of the natural skin tone colors, or a touch of Orange Masking Crème™, which brings the color of the scar back to normal.
- For very light, small scars, The Everything Pencil™ may be all you need. Find the best color to match your skin tone or blend different colors together for a perfect match.
- Use a small brush to paint out scars, or try dipping The Everything Pencil™ into Killer Cover, using the pencil as an applicator.
- Powder over the colored-in spots to set. Finish with your all-over face color.
Hints for Vitiligo
- For very small white spots due to hypo-pigmentation or Vitiligo, The Everything Pencil™ may be all you need. Find the best color to match your skin tone, or a combination of colors blended together.
- If you have de-pigmentation, white patches should be concealed, for they are sun-sensitive. Color in the spot with your pencil, pat and blend together. A touch of Orange Masking Crème™ will also help bring back the skin to a normal tone.
- Try using a small brush to paint in the spots, or dip The Everything Pencil™ as an applicator.
- Powder over the colored spots to set. Finish with your all-over face color.
Hints for Port Wine Stains & Birthmarks
- If the mark that is being covered is around the eye area, do not use eye creams or moisturizers prior to concealment. Makeup has to be on dry skin to stay.
- When applying Killer Cover, start off with a very thin layer of product, and add more layers as needed. Pat with powder in between layers using a cotton pad or puff. Do not miss any area that concealer has been placed. Brush off the excess in a downward motion.
- If your birthmark is on your cheek, use blush that is the same color as your birthmark after concealing. Your makeup will look very natural.
Hints for Tattoos
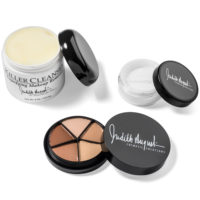
- To block out tattoos with blue, red, or yellow inks, start with a color that is darker than your skin tone in the Killer Cover™ wheel. Proceed with natural skin tone colors.